

Conference photography is about way more than just pointing a camera at speakers and hoping for the best. It’s a strategic approach to documenting your event so attendees remember the energy, the connections, and the key moments that happened. Whether you’re planning a corporate gathering or a large trade show, good conference photography tells the story of your event and gives you lasting visual assets to use afterward.
Here’s what separates solid conference photography from amateur snapshots: preparation, positioning, and a clear plan for what actually matters to capture.
Start With a Shot List and Coverage Strategy
Before a single photo is taken, you need to know what you’re actually documenting. This is where most people slip up. They show up and just react to what’s happening instead of being proactive about what they need.
Create a shot list that covers the major segments of your conference:
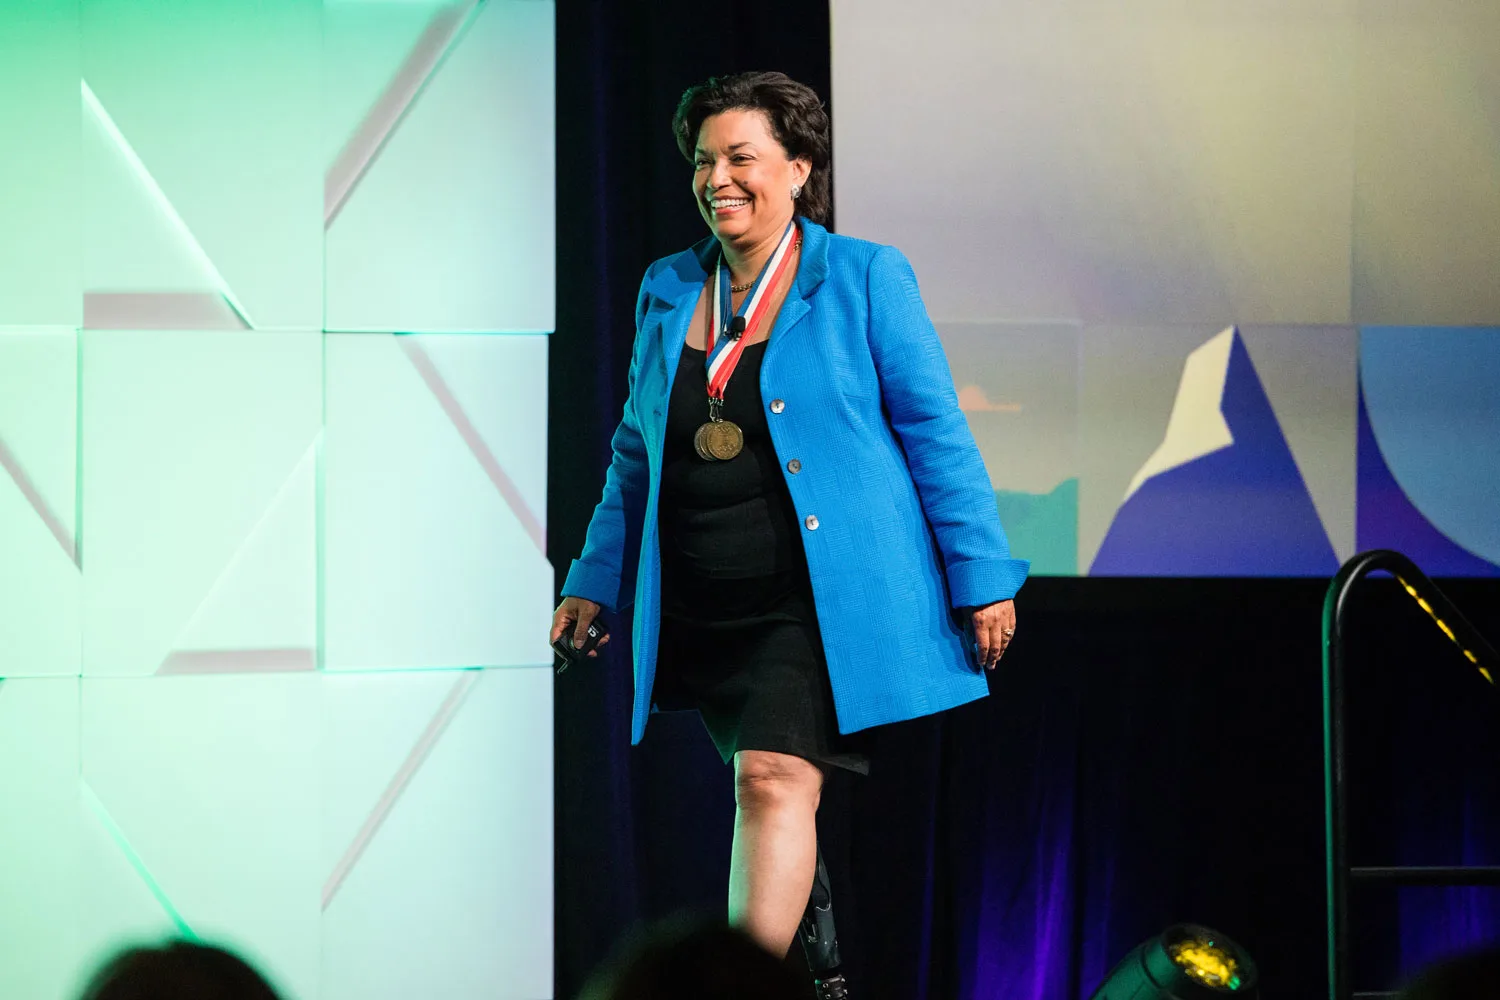
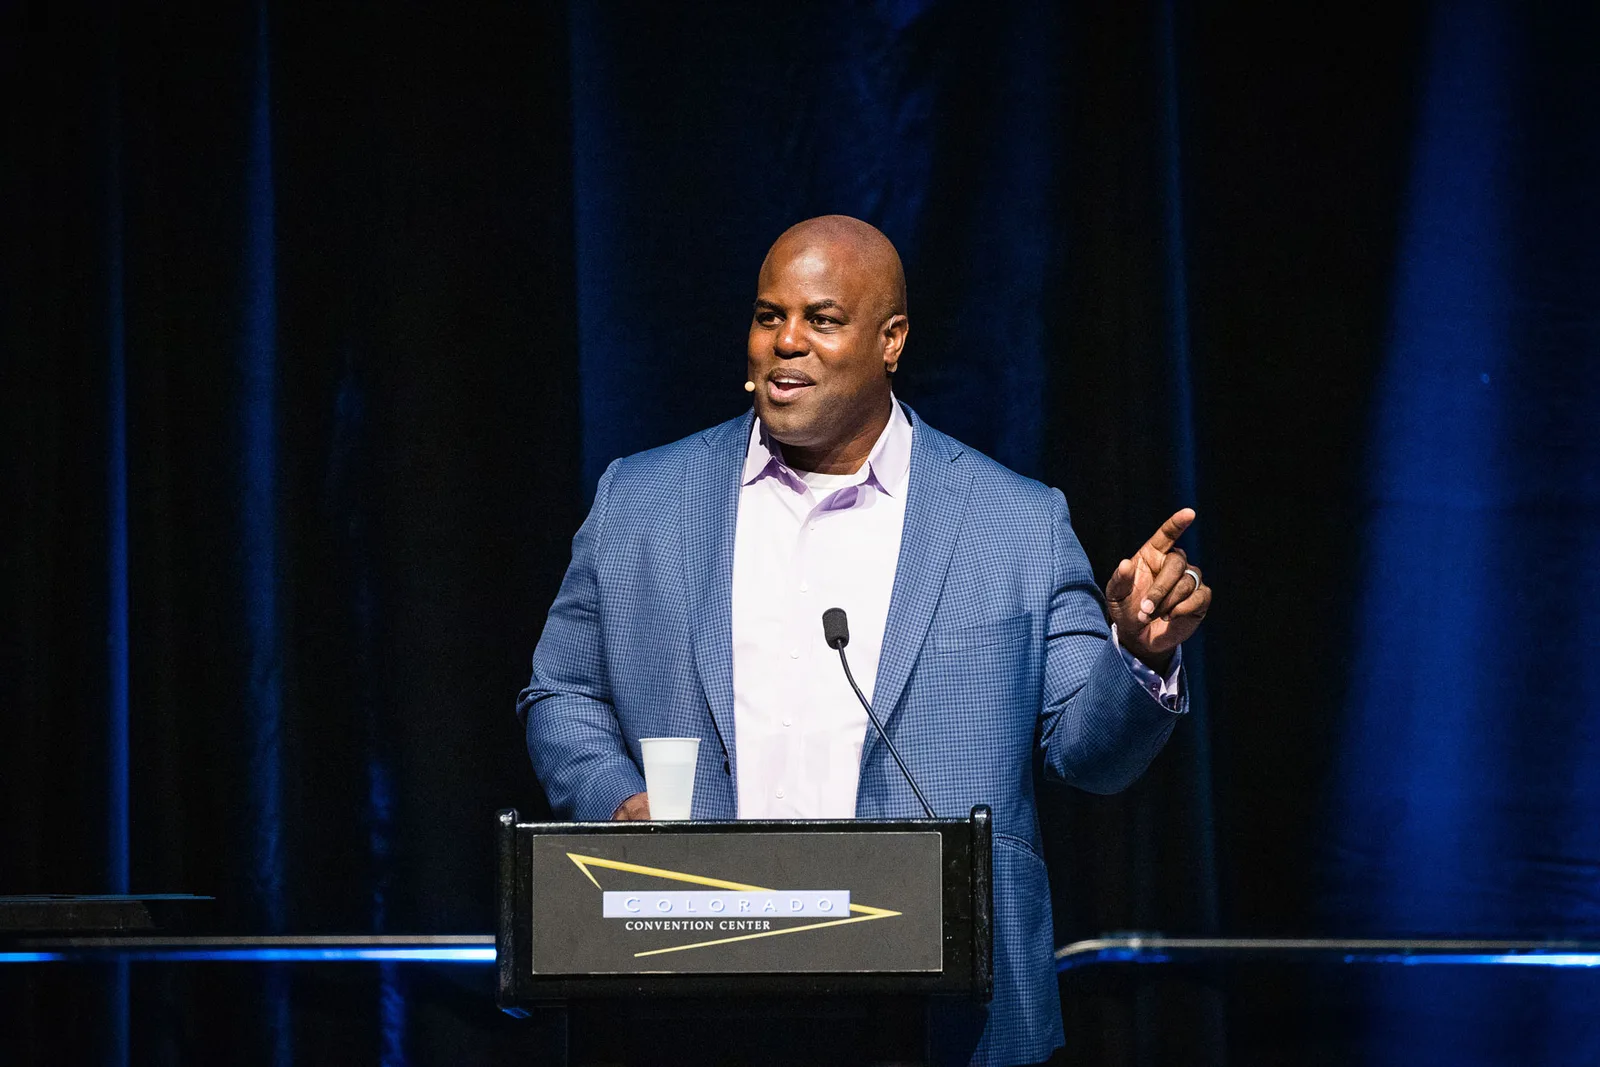
- Keynote presentations and speakers at the podium
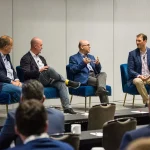
- Panel discussions and moderators
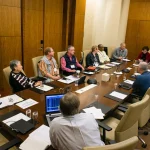
- Networking sessions and attendee interactions
- Sponsor booths and exhibition areas
- Registration and arrival moments
- Award presentations or special announcements
- Group photos and team moments
For each section, think about what the photos will be used for later. Are they going on your website? Getting shared on social media? Used in a conference recap email? That changes how you frame and prioritize your shots.
If you’re working with Monarch Event Photography or any professional team, share this list with them ahead of time so everyone’s on the same page about priorities.
Related: Professional Headshots for Corporate Events: Complete Guide
Plan Your Positioning and Movement
Where you stand during conference photography matters just as much as when you shoot. You want to capture authentic moments without being disruptive or obstructing attendees’ views.
For keynote presentations, scout the room beforehand. Find positions that give you clean shots of the speaker without blocking sightlines for the audience. Usually this means positioning yourself to one side of the stage or toward the back of the room.
During networking sessions, move through the crowd steadily. Look for genuine interactions: people laughing, shaking hands, exchanging business cards, leaning in to talk. Candid moments feel real and energetic, which is exactly what conference photography should capture.
For sponsor booths and exhibition areas, get close-ups of booth displays, people engaging with demos, and staff interactions with attendees. These shots matter if sponsors are paying to be there.
The key is staying unobtrusive. Your presence shouldn’t make people self-conscious or interrupt conversations. Use a lens that lets you work from a comfortable distance, and don’t ask people to “smile for the camera” constantly. Let moments happen naturally.
Nail Your Camera Settings Before You Start
Conference venues vary wildly. Some have bright windows and natural light. Others are dimly lit conference rooms with mixed lighting. You can’t rely on Auto mode to handle this.
Start by understanding your venue’s lighting. Ballrooms often have harsh overhead lights. Auditoriums might be lit only by stage lighting. Some spaces have windows that create bright spots and dark shadows.
Adjust your settings based on what you see:
- Use a wider aperture (lower f-number) in dim lighting to let more light in
- Increase your ISO if you need to keep shutter speed fast and avoid motion blur
- Keep shutter speed at least 1/125th of a second to freeze movement
- Shoot in aperture priority or manual mode so you stay in control
Bring extra batteries and memory cards. Seriously. Conference photography eats through both. You don’t want to run out halfway through the day.
Build a Fast Workflow for Same-Day Delivery
One huge advantage of professional conference photography is speed. Clients want to see photos quickly, share them with attendees, and use them for follow-up communications.
Develop a culling and editing workflow before the event. This means deciding in advance which photos make the cut and what your editing style looks like. Consistency matters.
After the event wraps, start organizing your images the same day if possible. Sort them by session or topic. Delete the obvious rejects (blurry shots, bad angles, duplicates). Flag the strong images that tell the story.
A streamlined workflow lets you deliver polished, organized photos within a day or two instead of weeks. That responsiveness is something attendees and organizers really appreciate.
If you’re handling this yourself, block out time immediately after the event for this work. If you’re working with professionals like Monarch Event Photography, ask about their turnaround time upfront so you know what to expect.
Capture Different Types of Moments
Conference photography works best when you mix different shot types:
Related: Meeting Photography: How to Capture Professional Event Coverage
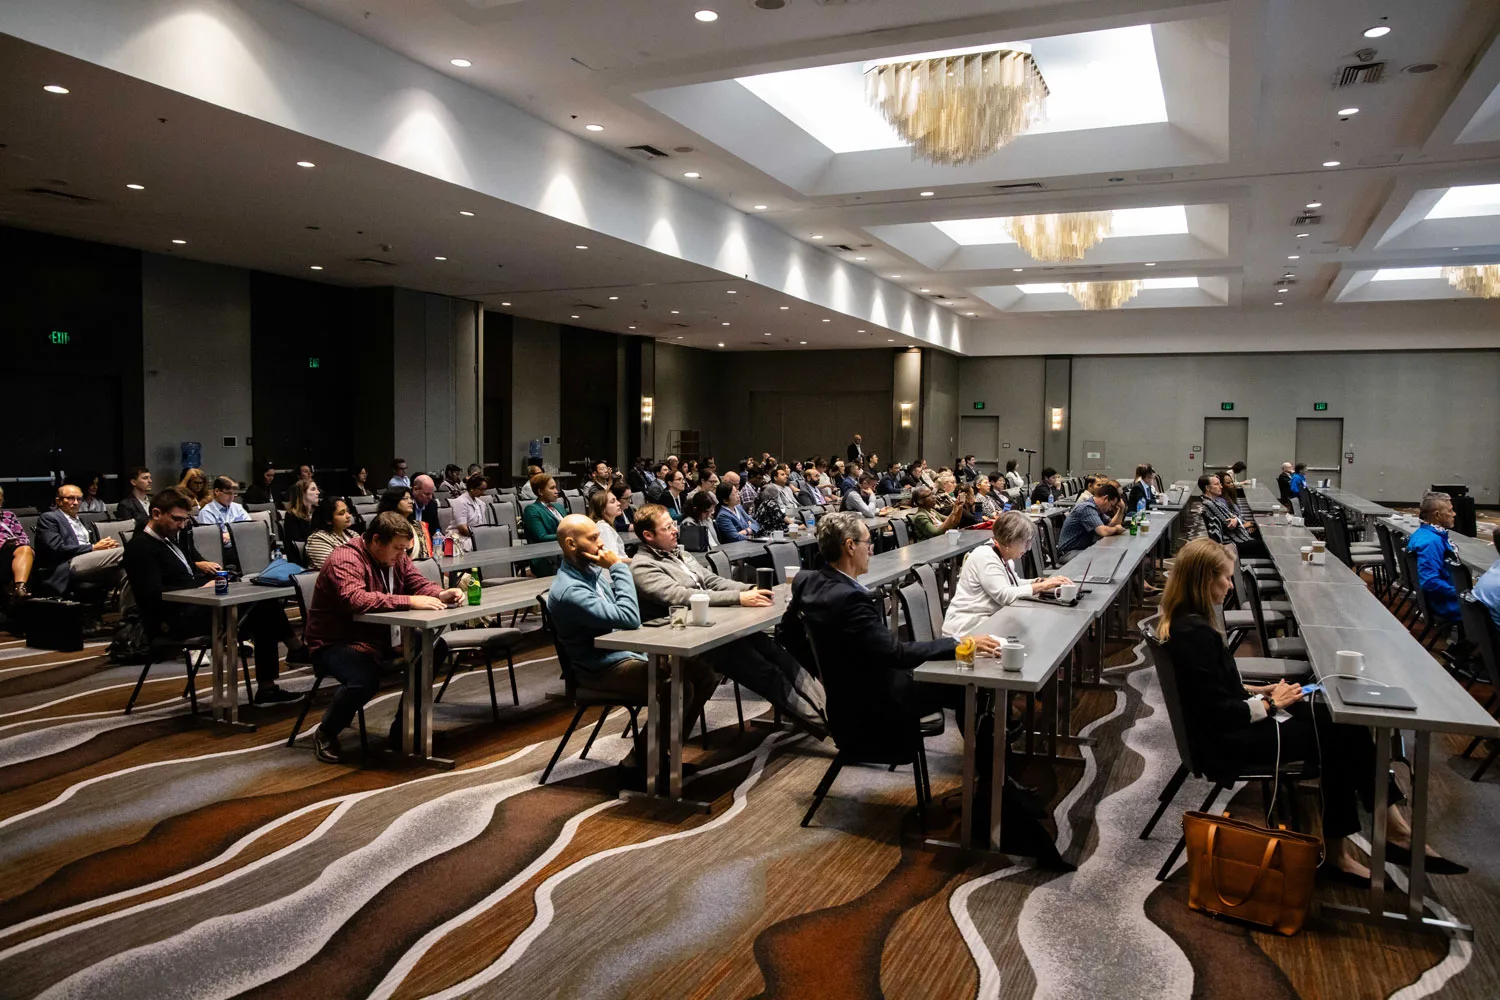
Wide shots show the room, the crowd, and the overall energy. These work great for social media and give context for what was happening.
Medium shots capture speakers, panelists, and groups of attendees. They’re the workhorses of conference photography.
Close-ups and detail shots focus on faces, expressions, speaker notes, signage, or booth details. These add personality and feel to your photo collection.
Action shots freeze moments like someone making a point, attendees laughing together, or hands coming together for a handshake. These feel dynamic and alive.
Vary your approach throughout the day so your final photo set doesn’t feel repetitive. A mix of shot types makes the story more interesting and gives event organizers more options for how they use the images later.
Organize and Deliver Professional Results
After you’ve culled and edited, organize your photos in a way that makes sense. Group them by session, speaker, or time of day. Use clear file names. Write a brief description so people know what they’re looking at.
When you hand over the photos, include usage rights. People want to know if they can post these on social media, use them on their website, or share them in marketing materials. Clear permissions prevent confusion later.
Consider how you’ll deliver the files. Cloud storage, USB drive, or a password-protected online gallery all work. Just make sure the process is simple for the client.
This is where attention to detail sets professional conference photography apart from casual documentation. It’s not just about taking good pictures; it’s about treating the whole process professionally from start to finish. That’s what Monarch Event Photography focuses on: making sure every step adds value for you.
Common Mistakes to Avoid
Don’t skip the planning phase. Showing up without a shot list or coverage strategy means you’ll miss important moments and waste time figuring out what to shoot.
Don’t ignore lighting. The difference between a blurry, dim photo and a sharp, well-exposed one comes down to understanding your camera settings and the room’s light.
Don’t over-edit. Conference photos should look polished and professional, but not artificially bright or heavily filtered. Keep editing subtle so the photos still feel authentic.
Don’t delay delivery. Photos lose relevance fast. If attendees can’t share them while the event is still fresh, they’re less useful for buzz and follow-up.
When to Hire a Professional
If your conference is large, high-stakes, or you need multiple angles and comprehensive coverage, hiring a professional makes sense. They bring experience, backup equipment, and a proven workflow.
Professionals also stay focused on photography while you focus on running the event. There’s less stress and fewer missed moments.
Look for a photographer or team with conference and corporate event experience. Ask to see their portfolios. Check their turnaround time and what’s included in their service. Make sure they understand your event’s priorities and can deliver the specific types of shots you need.
What makes good conference photography?
Good conference photography captures authentic moments, tells the story of your event, and delivers usable images quickly. It balances getting great shots with staying unobtrusive, covers all the key segments, and presents the photos in an organized, professional way.
How many photos should I expect from a full-day conference?
A full-day conference photographed by professionals typically yields several hundred edited, usable photos. The exact number depends on the event length, how many sessions you’re covering, and how selective you are during culling. You should expect more than enough to tell the full story without getting overwhelmed.
Can I use conference photos on social media and my website?
Yes, but make sure you clarify usage rights with your photographer beforehand. Most professional photographers include social media and website usage in their standard services. Get it in writing so there’s no confusion later.
How long does it take to get photos after the conference ends?
Fast turnaround is a huge benefit of working with experienced professionals. You should expect edited, organized photos within 1-2 business days. If a photographer is promising longer, ask why. The faster you have the images, the more relevant they are for sharing and follow-up communications.